


Time to play
The days fly and in no time at all, it will be September and a new year of fun will kick off. For now, we’re enjoying some days at home and for me, it’s a great opportunity to play in the studio.

There was time to get out all the printing stuff and do a bit of Gelli plate printing.

Though I had my ipad there and could watch the inspiring videos as I worked, next time I must remember to watch them through first and prepare one or two things. Going rooting through drawers and cupboards with painty hands is never a good idea. Anyway, mission accomplished and several new inserts for my Project Life were prepared.

Another item on my list of intentions was to explore the applique function on my sewing machine. Thinking – wrongly as it turned out – that it would be better to try a purchased design before having a go on one of my own, I downloaded a couple of cheapies from OESD and set to work.

Well, these files come with a minimum of instructions and involved the cutting out of fiddly shapes, because although they were complete with files for the Bernina cutwork tools, I don’t have that particular accessory. I do, however, have the amazing Silhouette! Still, for now, it was scissors and spray glue to the fore.

The end result wasn’t bad but my cutting wasn’t very accurate, was it? I felt I ought to have been a little more prepared and at least known what to expect. Maybe I should go back to the drawing board and start from scratch.

So today, I began at the beginning and opened up the Bernina Software Workbooks Hannah had kindly sent me, following our conversation at the Festival of Quilts. I didn’t really start at the beginning of course, but in book three, page 14! In a little less than an hour, I had worked through the process and had an applique apple ready to sew.

But hang on a minute, we don’t like to make things easy around here, oh no. What if I do a bit of jiggery pokery and get that shape into my Silhouette?

Well, of course, I couldn’t wait to try it out, so zoomed through the process so quickly, I didn’t even take a picture! Needless to say, it wasn’t great. Not only did the cut shape not quite match up to the stitched one, the thread kept breaking because I’d used the wrong backing fabric. I didn’t even attach the fabric shape in place as it stitched, so it moved around as it sewed! I stopped, told myself to slow down, to do things properly and not expect instant perfection.
I was going to make this work, though. I began by changing the imperial units in the Silhouette software to match the Bernina metric, thinking that at least I’d be able to keep an eye on the size of the motif. It was a start.

I then tracked down the correct Silhouette interfacing for sewn in shapes, hoping that it wouldn’t gunk up the needle as the other type had. I cut the shape with the Silhouette and carefully peeled it off, doing my best not to distort the shape.

Having sewn the outline, I took the hoop from the machine and placed the shape on top.

The little Clover iron came in handy to fix the shape in place. This one wasn’t going to move!

I couldn’t believe it when the stitching didn’t turn out perfectly in place once again. Now what? I thought about it carefully and realised that, although I’d checked the sizes of the shape as I’d rebuilt the design from scratch once more, I had foolishly forgotten to update the stitch file on the USB stick. Duh. I cut out another apple on the Silhouette, sewed out the first part of the design using the updated file then, rather than place the apple straight on the shape, I thought I’d check the relative size.
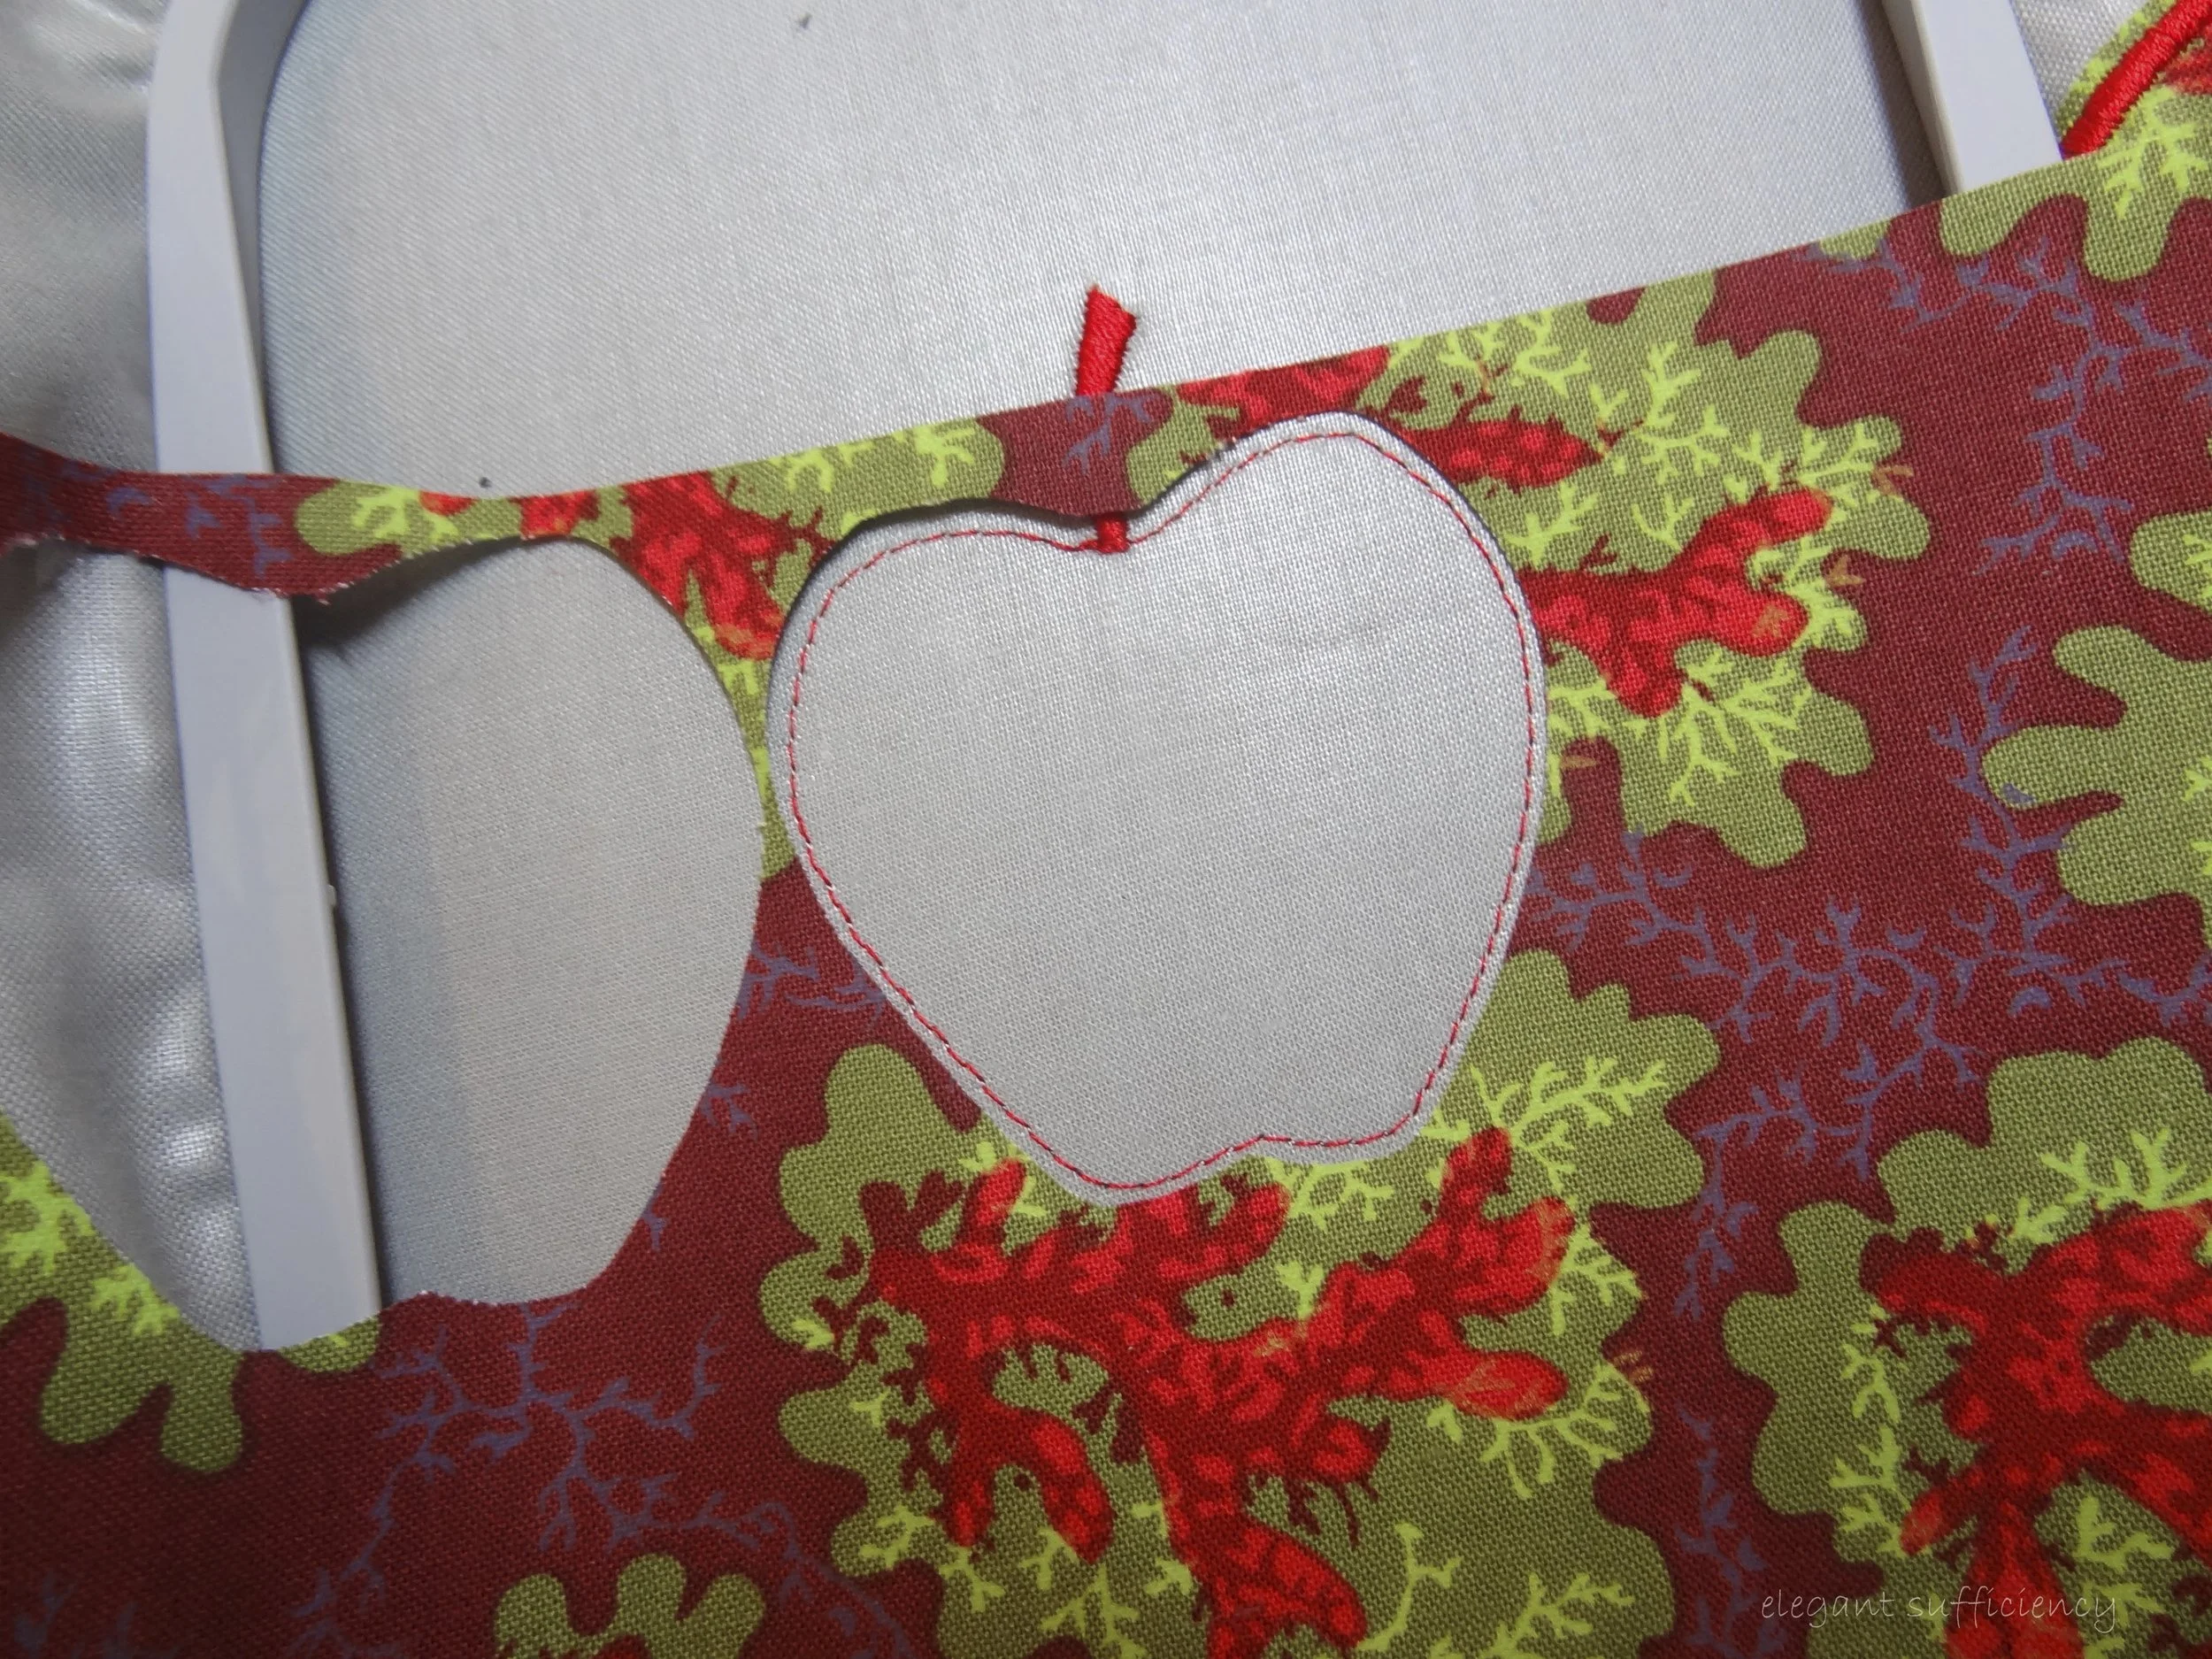
Suddenly the clouds parted and I saw the clear blue sky. Rather than line the fabric shape exactly on the stitching, it should be centred to overlap it evenly all round! Leaving the “hole” in place, I lined up the cut shape and ironed it in place.

All would be revealed when the shape was tacked down.

Sure enough, it was perfect. It had been a case of “user error” all along.

Result of almost a whole day’s efforts.
Now I know it works, I might feel brave enough to fiddle a bit. Maybe reduce the size of the cut file by a tiny amount – 1% perhaps – to avoid the slightest little frayed edge showing around the shape. But hey, getting Silhouette and Bernina working together offers huge potential and I’m eager to explore further.

That was all the ironing I did today, though

