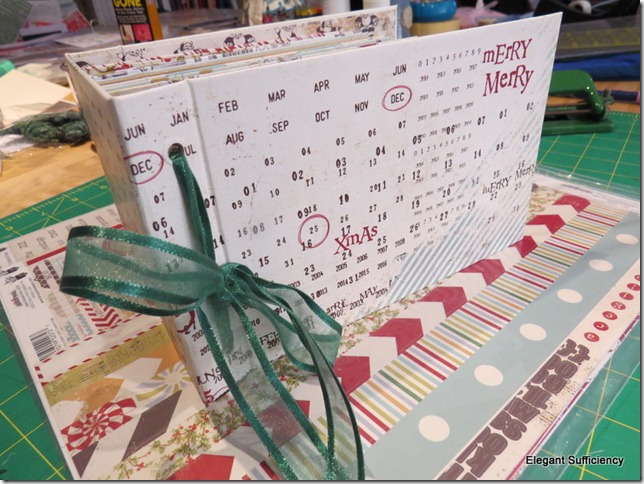
Christmas Journal 2013
I have emerged from the bomb site that is the journalling corner of my studio with a completed “masterpiece” at last. I’m always keen to get it finished and move on, because once Christmas is over, I’ve had enough of it. In addition, I find that I need to keep up with it if it is to stay “real”, because I forget all the small details after just a couple of days and it is those small details which make it special.

You might remember that I put the “bones” together in late October. How efficient was that?! Anyway, I’d seen a good idea for a kind of pocket construction and I thought I’d give it a go.

It’s quite chunky but that’s because there are spacers in the form of pony beads in between each page/pocket. I thought this might be a good idea because my journals always end up bursting at the seams!

So, on the 1 December, I pulled one of the pockets out and created my first page. Each day, I made some kind of design on the pocket, sometimes using Shimelle’s prompt as a focus, but often simply using something I’d come across which seemed to fit. I used a 6x4 card for most of the actual journalling, usually printing out a full size photograph for the reverse side. I attached a tab to each card and slotted it into the pocket. I was also trying to keep this journal a bit different from the more everyday record I keep in my Project Life album not to mention what I record here on my blog. I mean, how many times do I need to write, photograph or document the same old stuff?!

At this stage, I didn’t want to be messing up my spiffy covers so simply kept the finished pockets together with a pair of book rings.

Each day, I included a “playing card” design I’d made in Photoshop with the date on it and at least one gold star. Otherwise, every pocket was different.

Today, having finished the last page, I began to put them together in the binding, carefully keeping everything in order – until I dropped the lot, that is!

Oh well, try again. Only to find that, once in the binder, there were too many beads and the spine wasn’t wide enough. How strange. I thought I’d measured that bit.

All the pages came out again, as I removed a couple of beads at the front and the back of the pockets. It was as well I was home alone, because I was getting pretty irritated by this stage!

This time, it fitted perfectly. Phew.

Not only that, but the pages opened nicely, the pockets all worked well and the beads didn’t get in the way at all.

I’d worried a bit in case the plastic pockets I’d used to contain a few receipts and other ephemera were too wide, but this didn’t seem to matter.

And though I hadn’t worked out the tabs at all, they seemed to jolly along well together, too.


I couldn’t resist taking out this particular card out, “just to check” We enjoyed watching North and South with Mary whilst she was here and were glad to find that Richard Armitage hasn’t lost his good looks in the intervening years.

So here it is, my Christmas Journal 2013, done.

I cut the binding tape long enough so that it can be used to tie the book closed too. I’m not happy with the “2013” numbers though, so will probably redo those in a while. I think I’ll rubber stamp it in black, to fit with the design.

I’ll repeat it on the spine too, I think.

Ta Dah!


